

Matte finish repair is a superior choice for concealing imperfections on various surfaces, including vehicles, over repainting. Economically efficient, it focuses on damaged areas and adds sophistication while maintaining aesthetic appeal. For minor scuffs, matte finish repair preserves aesthetics, but extensive issues require specialized collision damage repair techniques. This guide emphasizes meticulous inspection, proper preparation, strategic compound application, sanding for blend, touch-ups, and final inspections for effective matte finish repairs on vehicles.
Discover why choosing a matte finish repair could be the smarter choice for your next project. While repainting seems quicker, repairing offers significant advantages, especially in preserving the original surface and avoiding unnecessary costs. This guide explores the benefits, scenarios where repair is superior, and provides a simple step-by-step process to ensure professional results. Learn how matte finish repair can transform your space with longevity and minimal fuss.
- Understanding Matte Finish Repair Benefits
- When to Opt for Repair Over Repainting
- Step-by-Step Guide to Effective Matte Repair
Understanding Matte Finish Repair Benefits

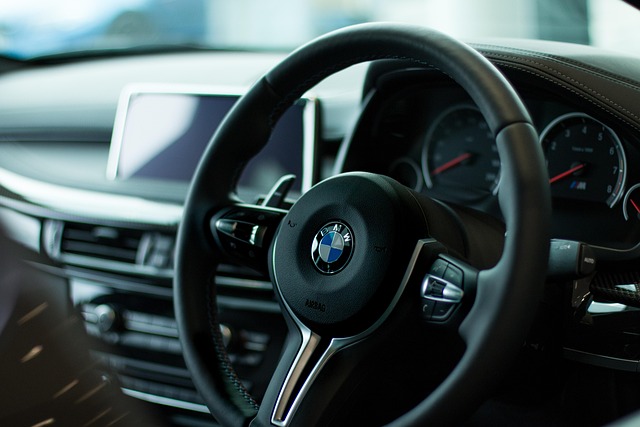
Matte finish repair offers a range of benefits that make it a superior choice for many surfaces in comparison to repainting. One of the key advantages is its ability to conceal imperfections and scratches, providing a seamless and flawless appearance without the need for a complete overhaul. This makes it an ideal solution for both personal and commercial spaces, including automotive body shops offering top-notch automotive repair services and even tire services.
Additionally, matte finish repair is more cost-effective than repainting as it only involves restoring the damaged area rather than completely revamping the entire surface. This not only saves money but also time, making it a practical choice for those looking to enhance their space without breaking the bank. Moreover, the matte finish adds a touch of sophistication and uniqueness, ensuring that the repaired area blends seamlessly with the rest of the surface while maintaining its aesthetic appeal.
When to Opt for Repair Over Repainting

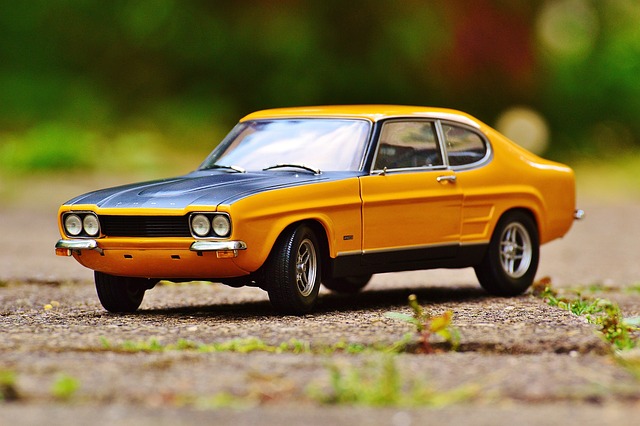
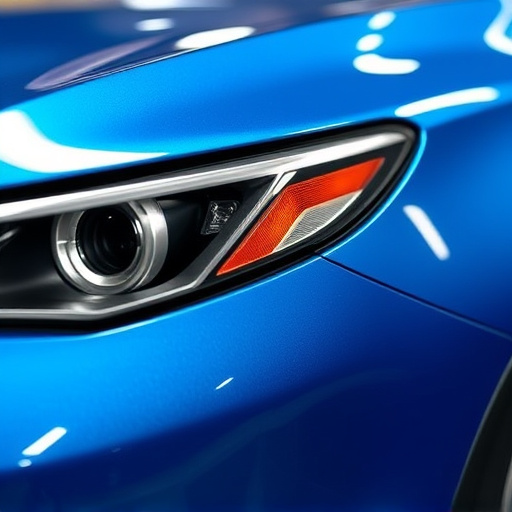
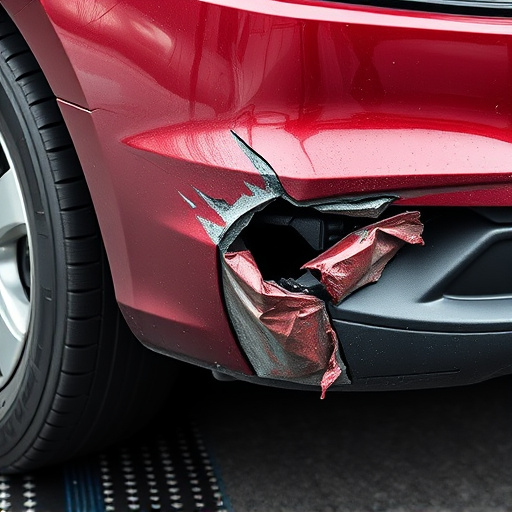
When considering whether to repair or repaint a surface with matte finish, it’s crucial to assess the extent of damage and the overall condition of the material. Opting for matte finish repair is often a preferable choice when dealing with minor scuffs, scratches, or chips in the paint, especially on automotive finishes like car bodies or auto glass. This approach not only preserves the original aesthetics but also ensures that the repair blends seamlessly with the surrounding area, maintaining the integrity of the surface.
In cases where collision damage repair is required, such as dents, cracks, or larger areas of damaged paint, painting over might not be the best solution. Repairs in these scenarios often involve specialized techniques and materials to restore the surface to its pre-damage condition, ensuring long-lasting results that match the original car repair services‘ quality and standards.
Step-by-Step Guide to Effective Matte Repair

Matte finish repair can be a cost-effective and time-saving alternative to repainting your vehicle. Here’s a step-by-step guide to help you achieve effective results:
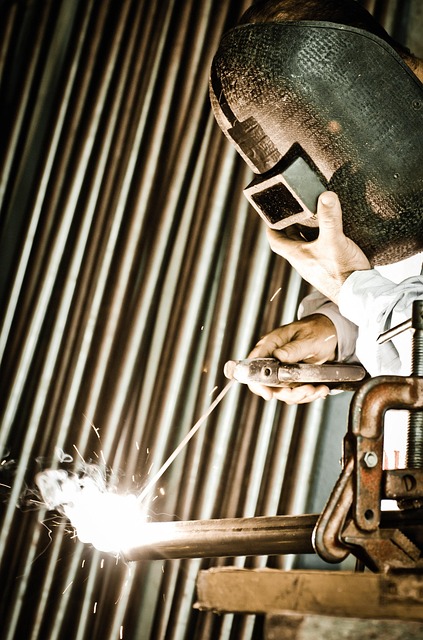
1. Inspect and Assess: Begin by thoroughly inspecting the damaged area, checking for cracks, chips, or scratches. Determine if the damage is isolated or part of a larger issue. For automotive collision repair, this step is crucial as it helps in devising a precise repair strategy.
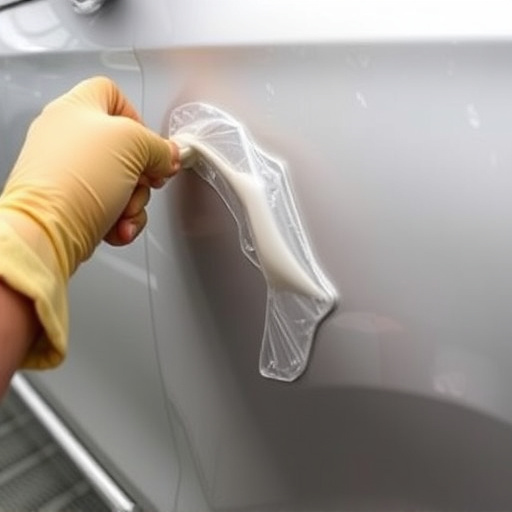
2. Prepare the Surface: Clean the damaged area with a mild detergent and water to remove any dirt, grease, or debris. Dry the surface completely. Sanding may be required to smooth out rough edges, ensuring a seamless finish when applying the matte repair compound. This process is akin to preparing a canvas before painting in automotive repair techniques.
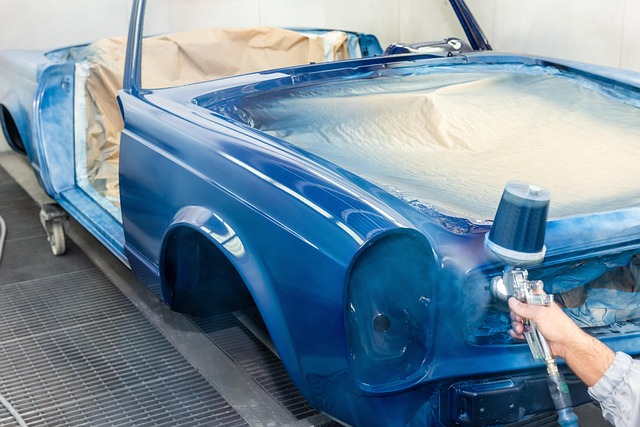
3. Apply Matte Repair Compound: Use a putty knife to apply an even layer of high-quality matte repair compound over the damaged area. Ensure it matches the surrounding surface for a natural blend. Allow it to dry according to the manufacturer’s instructions.
4. Sand and Refine: Once dry, lightly sand the repaired area with fine-grit sandpaper to ensure the surface is smooth and even. Remove any excess compound if needed. This meticulous step ensures that your vehicle repair yields a flawless matte finish.
5. Touch Up and Inspect: Apply a thin coat of matte paint to match the existing color, following the manufacturer’s guidelines for curing time. Finally, inspect the repaired area for any imperfections and make adjustments as necessary.
Matte finish repair offers a cost-effective and time-saving alternative to repainting, especially for minor damages. By understanding its benefits and knowing when to choose it over repainting, you can efficiently maintain your surfaces. Following the step-by-step guide ensures a successful matte repair process, allowing you to preserve the original look of your walls or furniture with minimal effort. Embrace this technique to maximize the longevity of your items while achieving a seamless, matte finish.