

Matte finish repair is a meticulous process for restoring and protecting surfaces, from walls to cars. It involves assessing damage, preparing with cleaning and sanding, using fillers and primer, then blending repairs seamlessly with surrounding areas. This technique requires careful workspace preparation, tool gathering, degreasing, priming, even paint application, and sealing with a topcoat for lasting protection. Skipping prep or rushing application leads to poor results; achieving a professional matte finish demands patience, drying time, and precise product control to avoid defects.
Discover the art of achieving a flawless matte finish with our comprehensive guide. Mastering matte finish repair is an invaluable skill for any DIY enthusiast or professional painter, ensuring your surfaces look polished and refined. This article breaks down the process into simple steps, from understanding the basics to avoiding common pitfalls. Learn how to select the right tools, prepare surfaces, and apply techniques that create a smooth, non-reflective surface, making your projects stand out with a unique matte allure.
- Understanding Matte Finish Repair: The Basics
- Step-by-Step Guide to Applying Matte Finish Correctly
- Common Mistakes to Avoid During the Application Process
Understanding Matte Finish Repair: The Basics
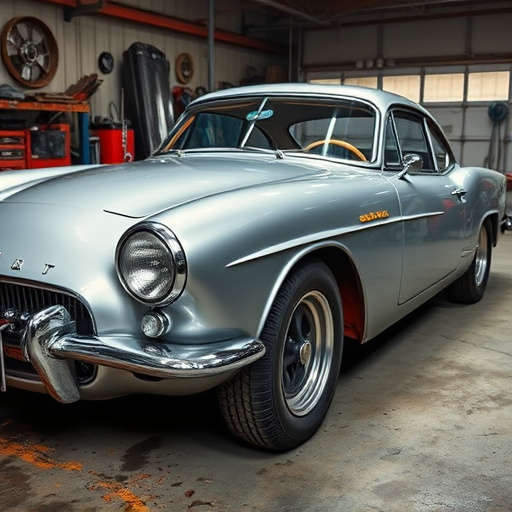
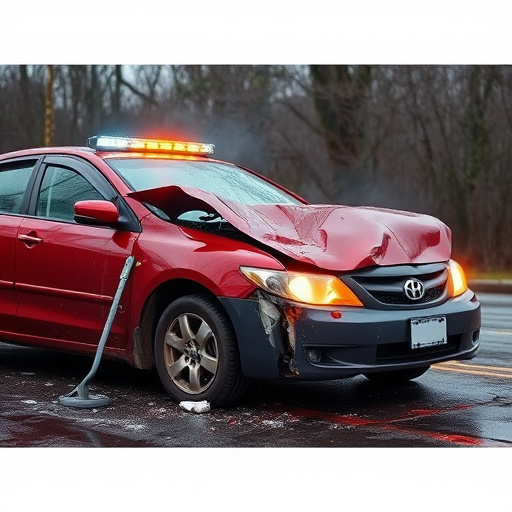
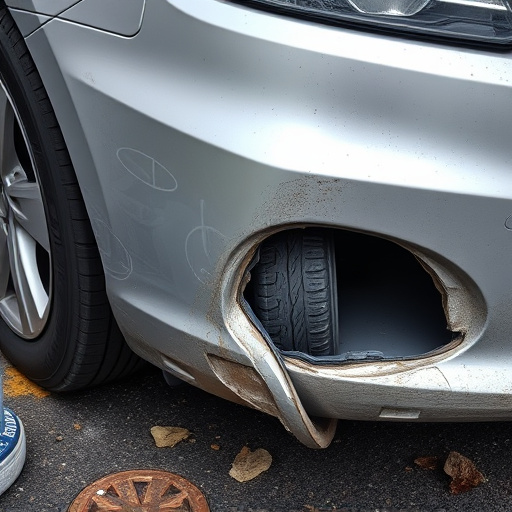
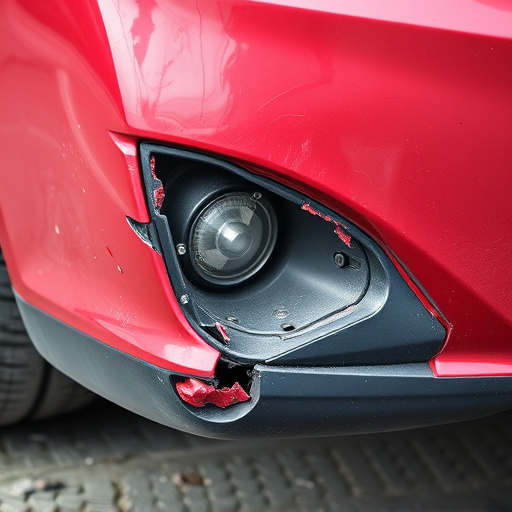
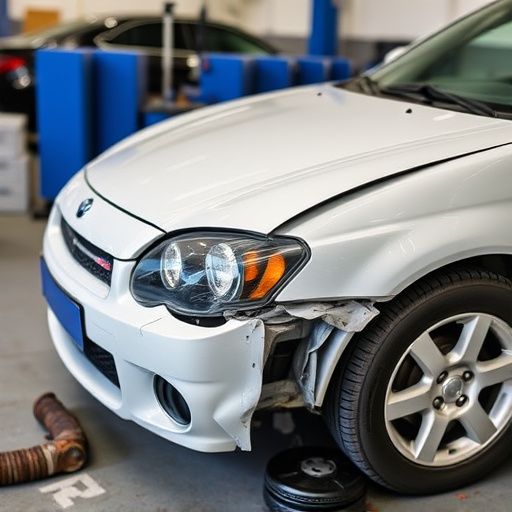
Matte finish repair is a specialized technique designed to restore and protect various surfaces, from walls and furniture to automotive finishes. It involves understanding the unique properties of matte coatings and applying precise methods to fix imperfections, ensuring a smooth, even appearance. The basics of matte finish repair start with assessing the damage—be it small scratches, chips, or larger areas of dégradation.
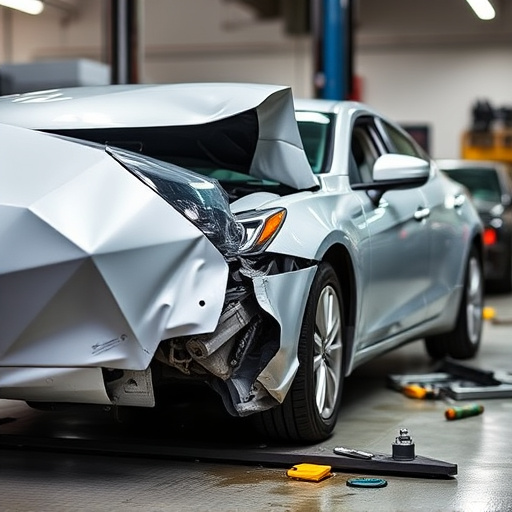
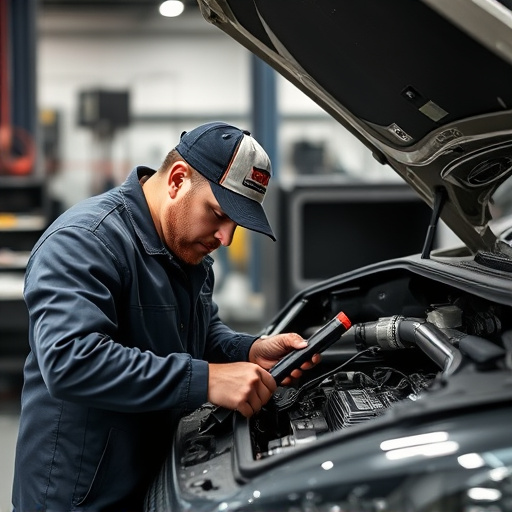
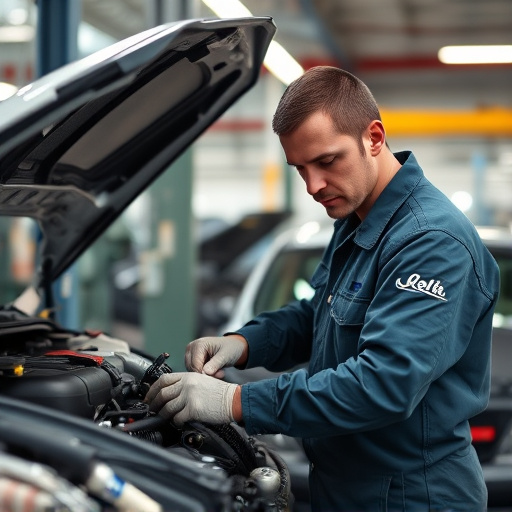
For car scratch repair or similar scenarios in automotive collision repair, choosing the right tools and materials is crucial. This includes selecting appropriate fillers and topcoats that match the original finish. Proper preparation of the damaged area by cleaning and sanding ensures better adhesion and long-lasting results. The goal is to blend the repair seamlessly with the surrounding surface, maintaining the matte aesthetic and overall vehicle value in auto glass repair or any other automotive applications.
Step-by-Step Guide to Applying Matte Finish Correctly
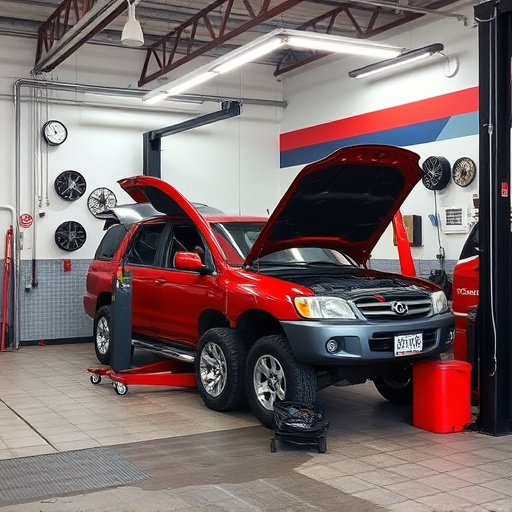
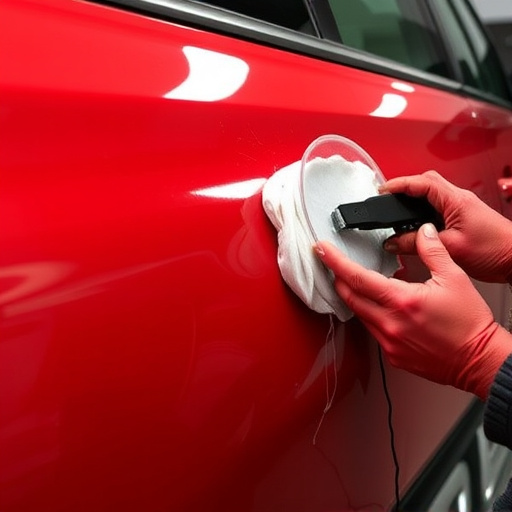
Applying a matte finish correctly requires precision and attention to detail. Here’s a step-by-step guide for achieving a flawless matte finish repair at home or in an auto repair shop. Start by preparing your workspace, ensuring it’s clean and well-ventilated. Gather all necessary tools and materials, including sandpaper, primer, paint, and a brush or sprayer suited for the job.
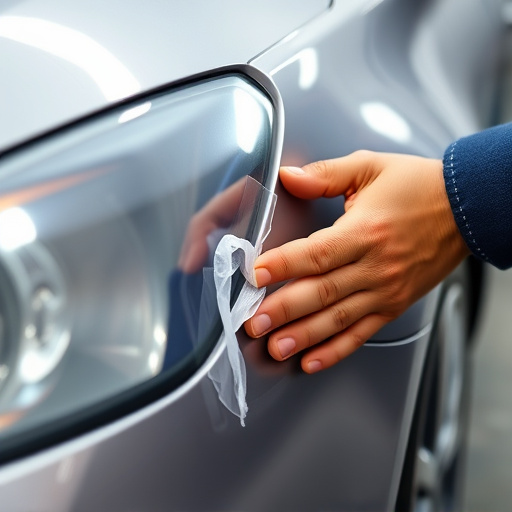
Begin by lightly sanding the damaged area to create a smooth surface and remove any debris or contaminants. Next, clean the area thoroughly with a degreaser to eliminate oil and dirt. Once the surface is ready, apply a coat of primer designed for matte finishes. Allow it to dry completely before moving on. After priming, use your chosen paint method—either brushing or spraying—to apply the desired color, ensuring even coverage. Finally, add a topcoat of clear sealant to protect the matte finish from fading or chipping, especially if you’re working on a car at a collision center or in an auto repair shop.
Common Mistakes to Avoid During the Application Process

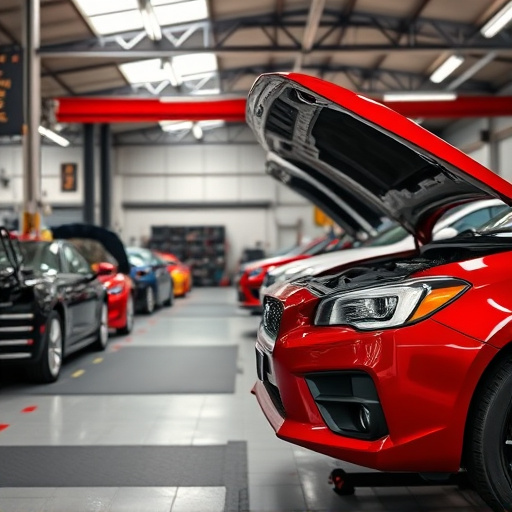
Applying matte finish repair techniques requires precision and attention to detail. Common mistakes often occur due to impatience or a lack of understanding of the process, which can lead to uneven results. One of the biggest blunders is skipping the preparation stage; a clean, dry surface is non-negotiable for achieving a flawless matte finish. Ignoring this step may result in bubbles, runs, or an uneven base, making the entire repair process futile, especially when comparing it to the meticulous mercedes benz repair standards.
Another frequent error is not allowing sufficient drying time between coats. Rushing through the application can cause issues like peeling or cracking, particularly with car bodywork that has a delicate balance of materials. It’s equally important not to oversaturate the surface; over-application can lead to an uneven, lumpy texture, which requires more extensive car body repair work to rectify. Remember, patience is key when working towards a professional matte finish.
Matte finish repair is a precise art that, when executed correctly, can dramatically enhance the look and durability of various surfaces. By understanding the basics, following a detailed step-by-step guide, and steering clear of common mistakes, you can achieve professional results. Remember, practice makes perfect, so don’t be discouraged if your first attempts aren’t flawless. With time and patience, you’ll master the techniques, ensuring a smooth, matte finish that not only looks good but also stands the test of time.