Matte finish repair is a cost-effective alternative to repainting for localized damage on luxury vehicles. It involves careful preparation, priming, and application of matching matte paint, preserving original texture and aesthetic value while saving time and money compared to repainting entire panels.
Discover why matte finish repair could be the perfect solution for your damaged walls. In many cases, opting for a repair rather than repainting offers significant advantages in terms of time, money, and effort. This cost-effective approach can restore your space to its original beauty without the need for a fresh coat of paint. Learn when and how to achieve a flawless matte finish with our step-by-step guide.
- Understanding Matte Finish Repair Benefits
- When to Choose This Cost-Effective Solution
- Step-by-Step Guide to Achieving a Matte Finish
Understanding Matte Finish Repair Benefits
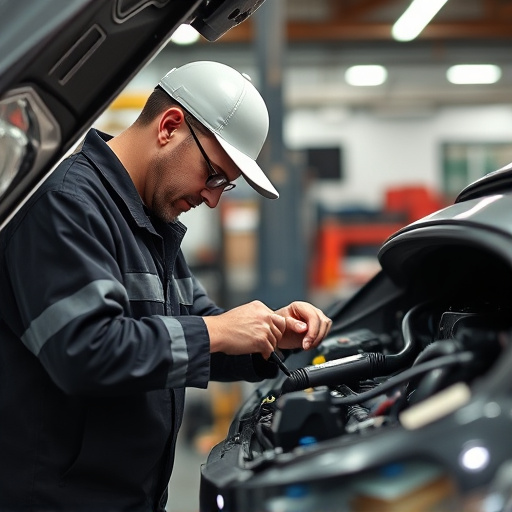
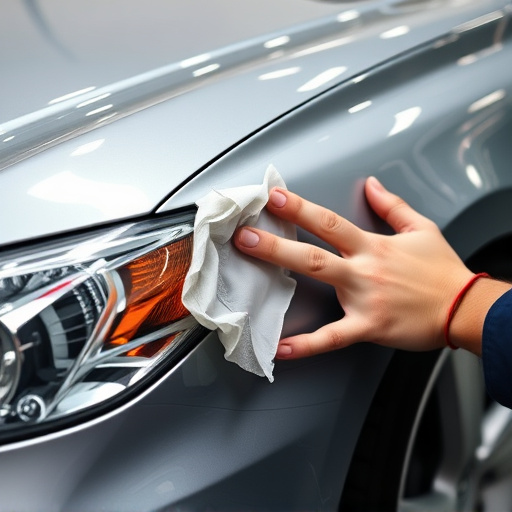
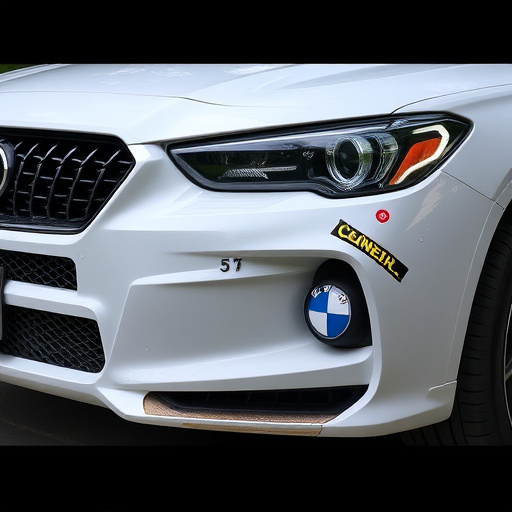
Matte finish repair offers several advantages over repainting, especially for those who own luxury vehicles or have experienced hail damage. This technique is particularly effective in restoring the original appearance of car surfaces without the need for a complete makeover. By applying a matte coat to damaged areas, repair specialists can match the subtle nuances of the surrounding paint, creating an invisible fix that blends seamlessly.
Unlike repainting, which can be time-consuming and costly, matte finish repair is a more targeted approach. It’s ideal for fixing small chips, scratches, or dents, ensuring that only the affected zones are treated. This precision preserves the integrity of the vehicle’s body, maintaining its value and original aesthetics. For car owners, this means a cost-effective solution to maintain the beauty of their luxury vehicle, making it a preferred choice for effective and discreet autobody repairs.
When to Choose This Cost-Effective Solution
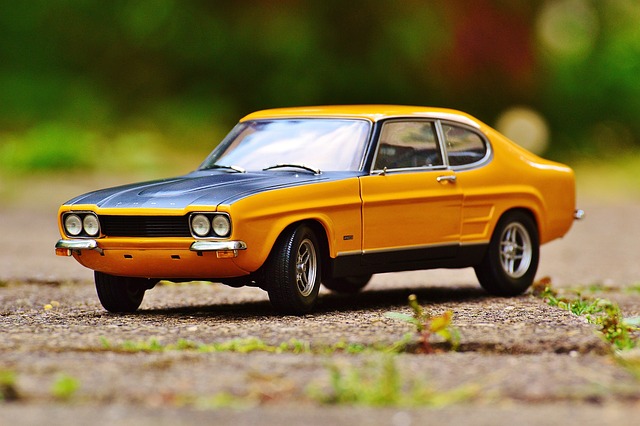
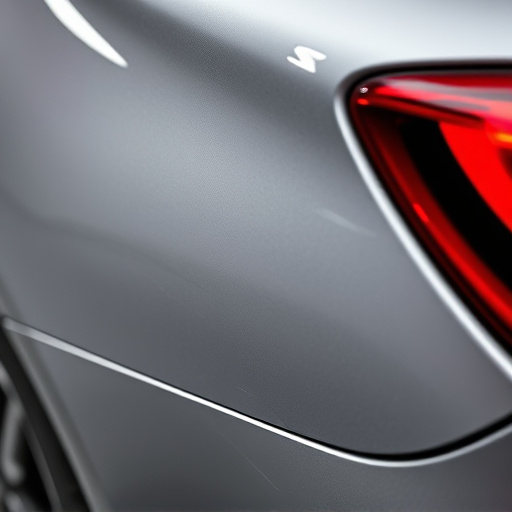
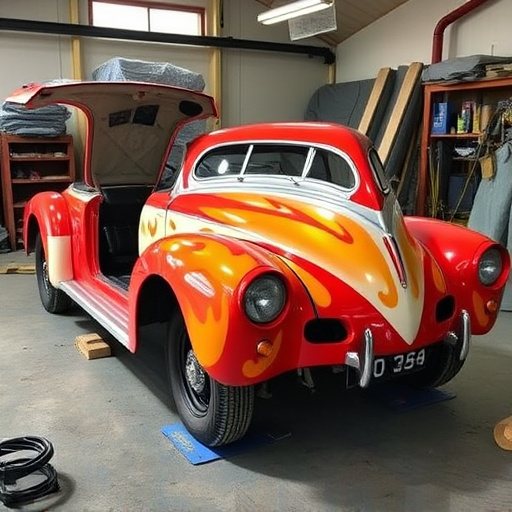
Choosing matte finish repair over repainting can be a smart cost-saving decision for several reasons. It’s ideal when the damage is localized—a small chip, scratch, or dent that doesn’t compromise the structural integrity of the surface. This solution is especially effective on vehicles with complex designs or unique matte finishes, where matching the original shade precisely can be challenging and expensive.
Compared to repainting an entire panel or vehicle, matte finish repair involves less labor and material, making it a more economical choice. It’s also quicker, allowing you to get back on the road faster. Additionally, this method preserves the original texture and appearance of the surface, ensuring your car retains its distinctive aesthetic appeal. Consider this option for minor repairs, especially if you’re looking for a durable, cost-effective solution that maintains the vehicle’s overall value.
Step-by-Step Guide to Achieving a Matte Finish
Achieving a matte finish repair involves a meticulous process that can transform damaged surfaces. Here’s a step-by-step guide to help you master this technique:
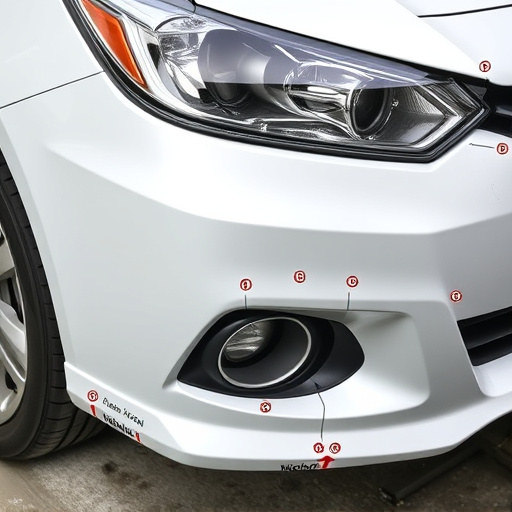
1. Prepare the Surface: Begin by thoroughly cleaning and preparing the area to be repaired. Remove any debris, dust, or existing paint flakes using a degreasing solution and fine-grit sandpaper. Ensure the surface is smooth and free from imperfections.
2. Apply Primer: To create a matte base, use an appropriate primer designed for matte finishes. This step is crucial as it provides a seamless foundation for your repair work. Allow the primer to dry completely, ensuring even coverage without any visible brush strokes.
3. Select Suitable Paint: Choose a high-quality matte paint that matches the original finish of your surface. Mix the paint thoroughly according to the manufacturer’s instructions to achieve the desired opacity and texture.
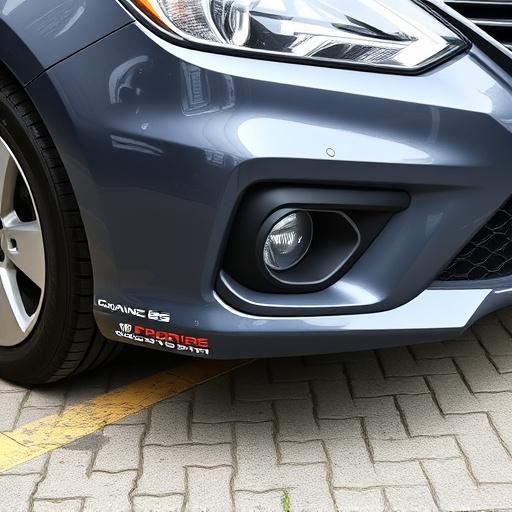
4. Apply the First Coat: Using a flat brush or roller, apply an even layer of paint, ensuring full coverage. Allow this initial coat to dry as per the paint’s specifications. This step sets the stage for creating a smooth, matte surface.
5. Sand and Buff (Optional): For a truly seamless finish, gently sand between coats using fine-grit sandpaper. This process helps eliminate any visible brush marks and creates a subtle texture that enhances the matte effect. After sanding, use a soft cloth to buff the area, leaving it ready for the final coat.
6. Final Touch: Apply the second coat of paint, following the same technique as the first. This final layer will solidify the matte finish, ensuring durability and a professional appearance. Allow it to dry completely before considering your repair work complete.
Matte finish repair offers a cost-effective and efficient alternative to repainting, especially for minor damage or wear. By understanding its benefits and knowing when to choose this solution, you can achieve a fresh, even look without the high costs associated with repainting. Following a simple step-by-step guide ensures a successful transformation, allowing you to navigate this repair process with ease. Embrace the versatility of matte finish repair as a smart choice for enhancing your space.